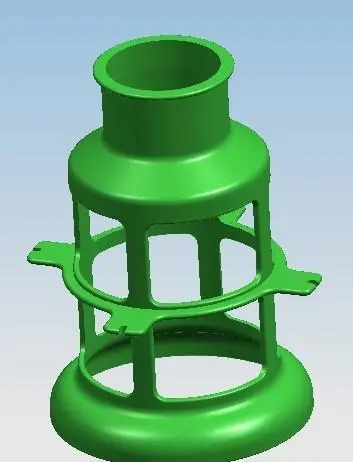
1. Product analysis and modification to determine Mold structure. A. Product analysis: mold opening direction, parting line and surface, overall dimensions, thickness, draft angle, inverted hook and corresponding core pulling method, glue injection point and method, mold hole number, etc. B. Convert to engineering drawing: use 3D software to draw. C. Shrinkage Chart: Mirrors the previous drawing once and zooms in by a multiple of the shrinkage ratio. 
2. Product ranking: how to arrange the products within the mold
Factors to consider: mold length and width orientation, product mold hole number, glue feeding position, spacing.
3. Order mold core. According to the size of the product, production batch, mold hole number, core pulling mechanism, etc 4. Mold ordering. According to the size of the mold core and the core pulling mechanism (side), the glue feeding method and position, whether the front mold has a core pulling (mold opening action, oil cylinder), product material, ejection method, and so on.
5. Assemble the mold core into the mold embryo 6. Installation and positioning design of mold core and mold embryo
7. Parting line, pillow position, insert design 8. If the customer's product has a barb, it is necessary to design a core pulling mechanism such as row position or inclined top design
9. Design the gating system (direct gate, side gate, diving gate, horn gate, point gate, fan gate, overlap gate, etc.) 10. If it is a fine nozzle mold, it is necessary to design the shutter and plug screw
11. Exhaust system design (exhaust slot location and product overflow value) 12. Ejection system design (ejector pin, inclined top, driver cylinder, top block, push plate, air top, etc.)
13. Cooling system design (water path styles such as straight through type, stepped type, partition type, spiral type, etc.) 14. Opening of auxiliary parts (springs, trash nails, brace heads, center brackets, lock templates, buckle machines, side locks, balance weights, limit blocks, mold lifting holes, skid pits, etc.)
15. Inspection and modification, view supplement and position adjustment
16. 2D to 3D mold splitting or full 3D
17. Disassembly drawing (3D+2D) 18. Review and modify drawings.
19. Print and archive qualified drawings 20. Send drawings to the mold manufacturing workshop for processing c.c
